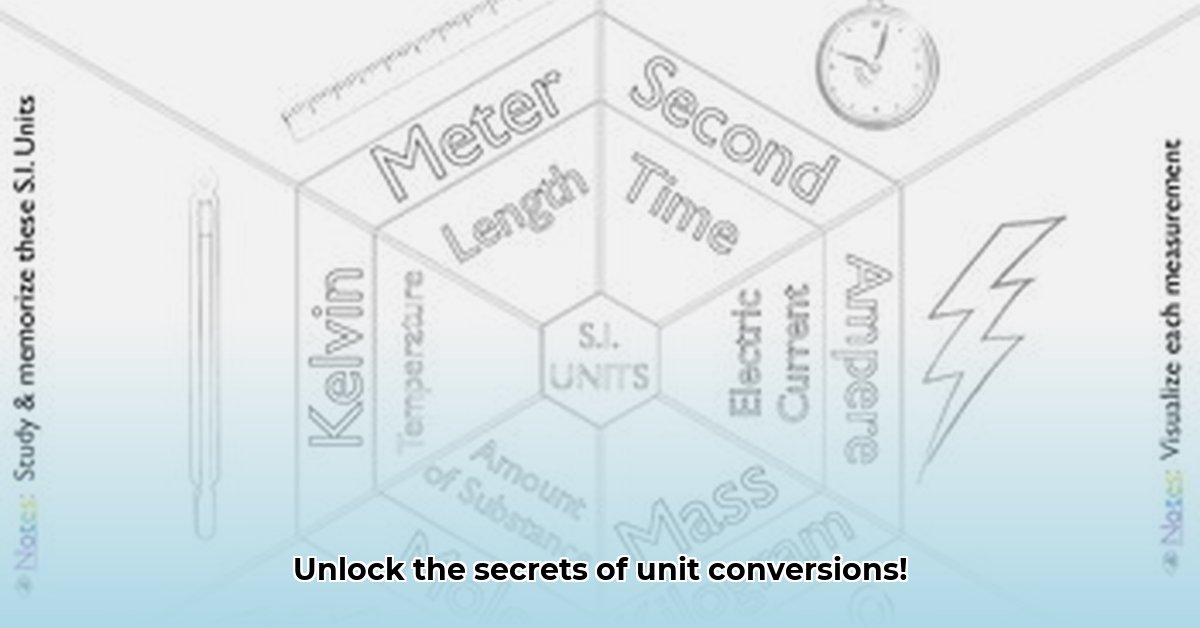
Understanding the Challenge of Metric Conversions
Let's be honest: converting between metric units like meters and centimeters can be confusing. Many struggle because traditional methods often focus on rote memorization of formulas, lacking visual context. This approach leads to frustration and a lack of true understanding. But what if learning about metrics was more intuitive, like solving a jigsaw puzzle rather than staring blankly at a textbook? That's the power of visualizing metric measurements; it transforms abstract concepts into concrete images. Wouldn't it be easier to grasp the relationship between kilometers and meters if you could see it? For a real-world example, see how long 20 meters is here.
The Power of Visual Learning
Dr. Anya Sharma, Professor of Educational Psychology at the University of California, Berkeley, emphasizes the importance of visual aids in mathematics education: "Visual representations bridge the gap between abstract mathematical concepts and students' concrete experiences, fostering deeper understanding and improved retention." This is especially true for unit conversions, where seeing the relationship between different units is key to mastery. Traditional methods often fall short, leading to rote memorization instead of genuine comprehension. Wouldn't you rather understand the why behind conversions instead of just memorizing the how?
Bringing Metric Conversions to Life: Three Key Visual Methods
We'll explore effective methods for visualizing metric conversions, moving beyond rote memorization:
Area Models: Represent units as squares or rectangles, where size directly reflects quantity. Converting square centimeters to square meters becomes intuitive by visually seeing how many smaller squares fit within the larger one. Imagine building with blocks—you directly see the size relationships.
Number Lines: Use a number line to illustrate the relationships between metric prefixes (kilo, milli, centi). It's like a visual highway for conversions, each jump representing a specific unit change. This provides a clear roadmap for your conversion journey.
Interactive Software: Take advantage of educational software and simulations. These tools offer hands-on experimentation, making learning fun and engaging. You can literally "see" the unit transformations happening, reducing abstraction.
A Step-by-Step Guide to Visualizing Metric Conversions
Follow these steps for effective visualization:
Define the Problem: Clearly identify the units involved and the desired outcome. Knowing your target is crucial.
Choose Your Visual Tool: Select the best method (area models, number lines, or interactive software) based on the conversion and your learning style.
Create Your Visual: Draw a sketch, use software, or build a physical model. Clarity and accuracy are paramount. Your visual should be a clear representation of the conversion process.
Analyze Your Visual: Use your creation to understand the conversion. The visual should clearly reveal the solution.
Practice: Consistent practice using these methods strengthens understanding and builds confidence.
Traditional vs. Visual: A Comparison
Let's compare traditional formula-based learning to the visual approach:
| Feature | Traditional (Formulas) | Visual (Picture-Based) |
|---|---|---|
| Learning Style | Abstract, rote memorization | Concrete, intuitive understanding |
| Efficiency | Can be quick for those already proficient | May require more time initially |
| Error Rate | Higher due to reliance on memorization solely | Lower due to enhanced understanding and visual confirmation |
| Long-Term Retention | Lower | Higher |
| Problem-Solving Skills | Limited | Enhanced |
Challenges and Future Directions
While visualization offers significant advantages, challenges remain. Ensuring equitable access to technology and developing effective assessment methods are crucial. Ongoing research will further refine visual teaching techniques. This is an evolving field, and continued exploration is vital to fully unlock the potential of visual learning in mathematics.
How to Effectively Teach Unit Conversions Using Visual Aids
Mastering unit conversions involves building a strong foundation in base units before tackling complex conversions. Real-world applications and hands-on activities significantly improve understanding and retention. Visual aids, such as charts and diagrams, are essential for effective learning. Consistent practice is key, and age-appropriate activities and differentiated instruction cater to diverse learning styles.
Crafting Effective Visual Aids: A Practical Guide
Identify the Conversion: Clearly define the units involved (e.g., centimeters to meters).
Choose Appropriate Visuals: Select visuals suitable for the learners' age (e.g., manipulative objects for younger students, bar graphs for older students).
Prioritize Clarity: Keep visuals simple, avoiding clutter. Use clear labels and consistent scales.
Use Real-World Examples: Connect conversions to everyday scenarios to make abstract concepts concrete.
Iterate and Refine: Observe student interactions with your aids and adjust based on their responses.
Leveraging Interactive Visualizations
Interactive whiteboards and educational apps offer dynamic learning experiences, allowing for active participation and immediate feedback. For example, interactive exercises can involve dragging and dropping units to solve problems, providing visual confirmation of answers.
Examples of Effective Visual Aids
- Ratio Tables: Clearly demonstrate unit relationships.
- Bar Graphs: Visually compare different unit sizes.
- Line Diagrams: Illustrate linear relationships between units.
- Interactive Simulations: Dynamically demonstrate conversions in real time.
Conclusion: The Power of Visual Learning
Effectively teaching unit conversion using visual aids leads to a deeper, more meaningful understanding. By leveraging the power of visual learning, educators can empower students to confidently navigate the world of measurement.